
[affiliate_login]
SpellBrite Quick Assembly Instructions
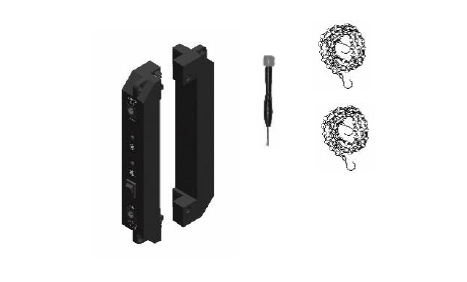
If you prefer a pdf version of these instructions, click here.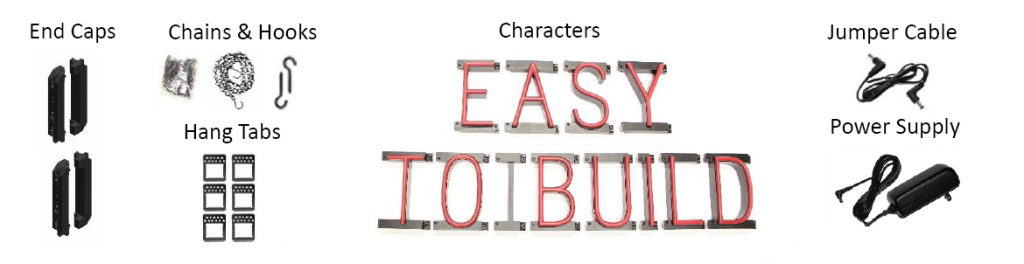 Step 1: Find the End Cap Kit box. This contains the end caps, hanging chains, hooks, a screwdriver, and the complete instructions with important warnings.
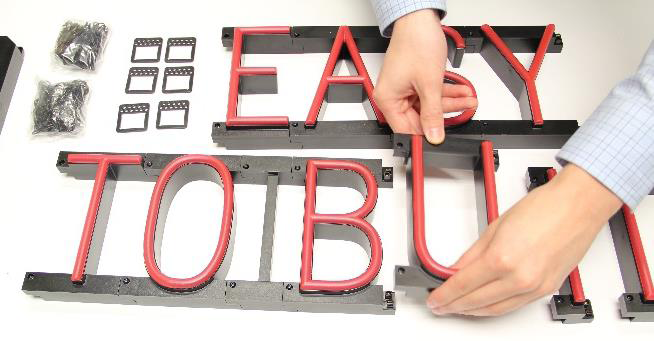
 Step 2: Unbox all letters and accessories. Spell out the sign you purchased.
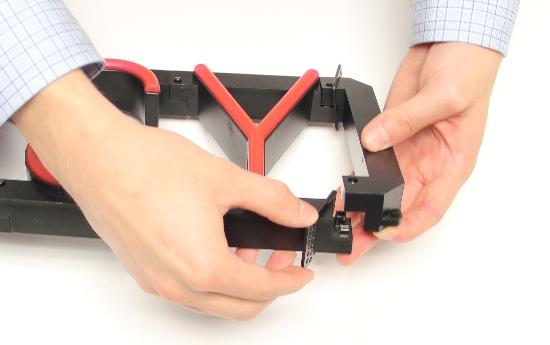
 Step 3: Click the letters together. You will feel some resistance followed by a click sound. When properly connected the front facing rails should be flush with each other.
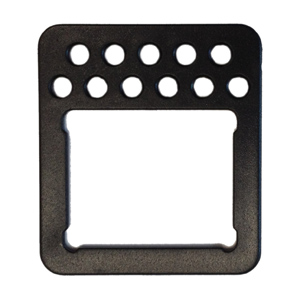
 Step 4: Place the end caps on each end of the sign row(s). If you only have a 1 row sign, then please skip to step 8 after completing this step.
 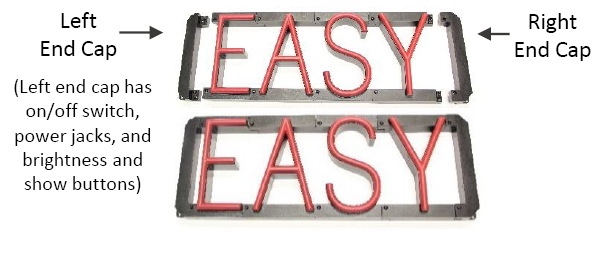 Step 5: Installing hang tabs (aka angle adjustment tabs). Multi-row signs and long sign rows look more professional when you use hang tabs. Hang tabs slide on the sign rail between characters.
 Align the sign in the manner you wish (most people center their sign) and look for the best place to install a hang tab between desired letters.
 Step 6: Unclick the letters where you wish to place the hang tabs, slide the hang tab into place, and click the letters back together.
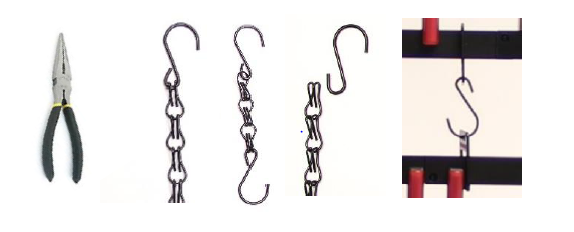
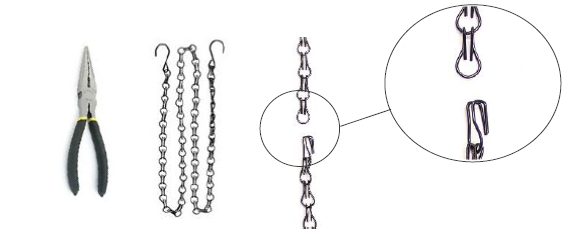
 Step 7: For connecting sign rows, you can remove and use just the S hook from the chain, or adjust the length of the chain, then connect the hook with the desired hang tab. The hooks or links can be removed from the chain by bending the metal with needle nose pliers (not included).
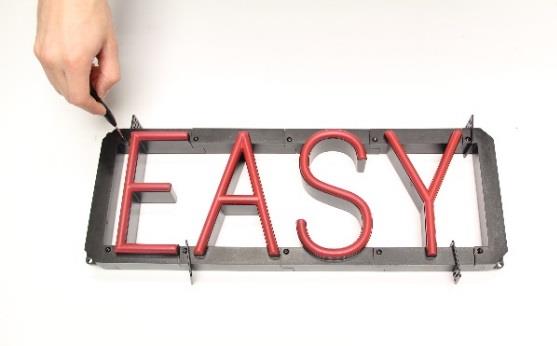
 Step 8: Tighten all screws with the screwdriver provided. Do not over tighten screws.
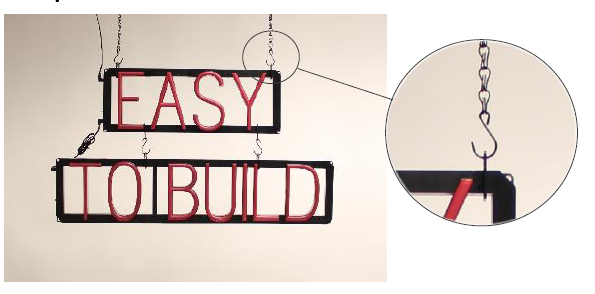
 Step 9: For hanging signs from the ceiling, we have provided chains and hooks. Chain lengths can be adjusted by removing chain links with needle nose pliers (not included).
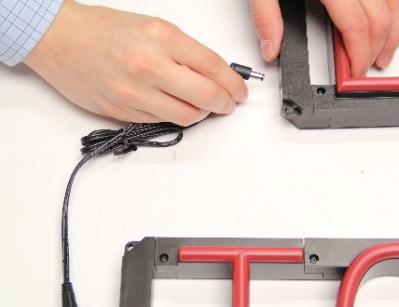
 Step 10: Connect the power supply and jumper cables, if any, to the end cap(s). Confirm brightness and animation is on desired setting(s). Many multi-row signs can be powered with one power supply and jumper cable(s). Large multi-row signs may require more than one power supply.
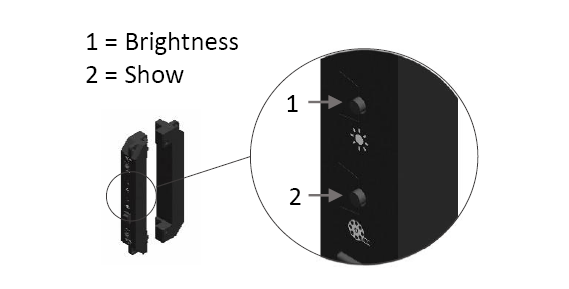
 Step 11: Brightness & Shows. Adjust your sign to the brightness level you desire by pressing the brightness button on the left end cap. There is also a show button on the left end cap with 7 different animations.
 Step 12: Register your sign online at warranty.SpellBrite.com & enjoy your sign!

Build Your Sign & Get Instant Quote
R
W
B
G
RED
Please wait while your sign is created.
The necessary components are being added to complete your sign.
This may take a minute to process.
Do not browse away from this page.
Thank you!